Posted in Chocolate, Cookies, Dessert, tagged balls, cake, cake balls, chocolate, dessert, red, valentine, velvet on February 7, 2011|
40 Comments »
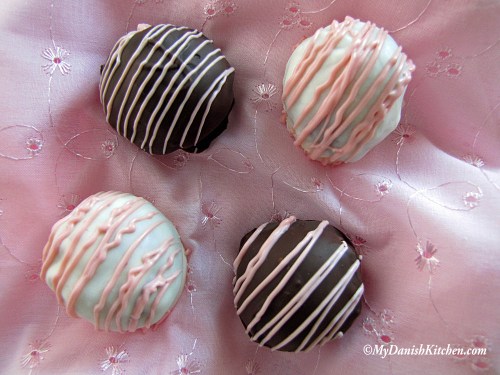
Red Velvet Cake Balls
Valentine’s Day is upon us once again. A day for celebrating your affection for your loved ones and for buying massive amounts of chocolate, flowers and Hallmark Cards. The truth of the matter is that I do not celebrate Valentine’s Day. I think it is much more sincere and natural to show your affection in a spontaneous manner….besides I don’t like an overly crowded restaurant. However, I did think it would be fun to make something in a Valentine’s theme and I have been itching to make these Red Velvet cake balls.
The balls turned out very delicious and they were easy to make but a bit time-consuming. If you make cake balls make sure they are thoroughly chilled for easier handling. I worked with 3 or 4 balls at the time so they wouldn’t warm up before i could get them dipped in the chocolate. A tip which worked out really well (courtesy HubPages) was to take a plastic fork and break off the middle two digits which allowed for quicker and better draining off the excess chocolate. So first I rolled the ball in the melted chocolate, then scooped it onto the fork and spooned chocolate over the remaining cake ball and placed it onto a baking sheet to set. I also melted the chocolate in small increments because the cake crumbs make the chocolate thicken pretty quickly.
The best part of making these wonderful Red Velvet Cake Balls was to hear my sons reaction over the phone when he recieved them at his college 🙂
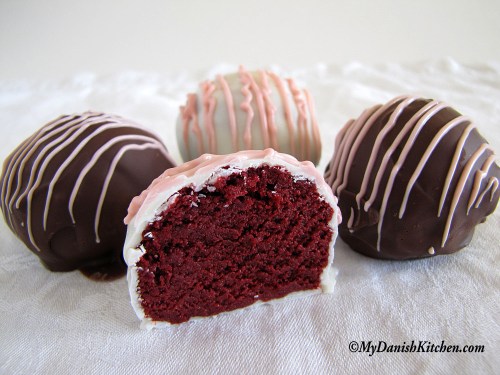
Red Velvet Cake Balls
Ingredients:
1 box Red Velvet cake mix (follow baking instructions on box)
16 oz can Cream Cheese Frosting
2 – 12 oz bags chocolate/white chocolate
1/2 lb colored candy wafers (optional – for decorating)
Directions:
Bake red velvet cake according to directions on box. Allow cake to cool completely.
Break up cake into large chucks, place in food processor and process until fine crumbs. Place cake crumbs in a large bowl. If you don’t have a food processor you can certainly crumble it by hand. Add cream cheese frosting to cake crumbs and mix together. It may be easier to use your hands for the mixing, but a bit messy. Roll cake mass into quarter size balls and place on a baking sheet. Refrigerate cake balls for several hours or place in freezer to speed up the cooling process. You want them very cold for easier handling before dipping in chocolate.
Melt chocolate over a warm water bath or in microwave according to package directions. Using a spoon and fork, gently roll each ball in the melted chocolate to cover, spooning more chocolate over the ball as needed. Place ball on baking sheet or parchment paper until chocolate has hardened.
If decorating, melt colored candy wafers over a water bath or in microwave. Load into a small zip lock bag, cut off the corner tip of zip lock bag making a tiny hole. Drizzle over chocolate covered balls and let set. Enjoy.

Baked Red Velvet Cake

Break up cake

Crumbs with frosting
Source: Bakerella

Read Full Post »


