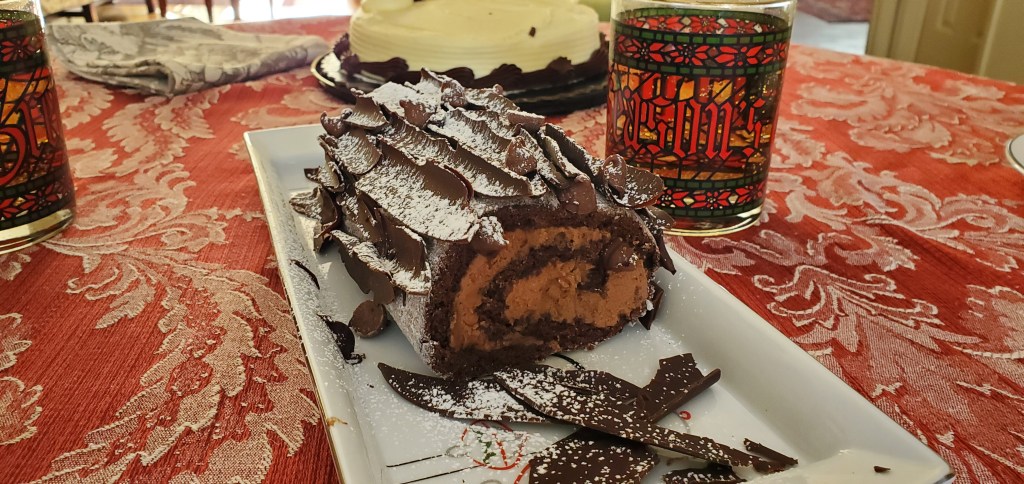
I have baked this Chocolate Swiss Roll with Bailey several times over the holidays and I’ve learned a lot. I tried using dark chocolate in the Cream filling, but that was a mistake, because it lacked the smooth, sweet, silkiness of the milk chocolate. I am also inclined to say that the Bailey taste a little boozy to me and that I would almost prefer it without the Bailey and simply just as a delicious Chocolate Swiss Roll.
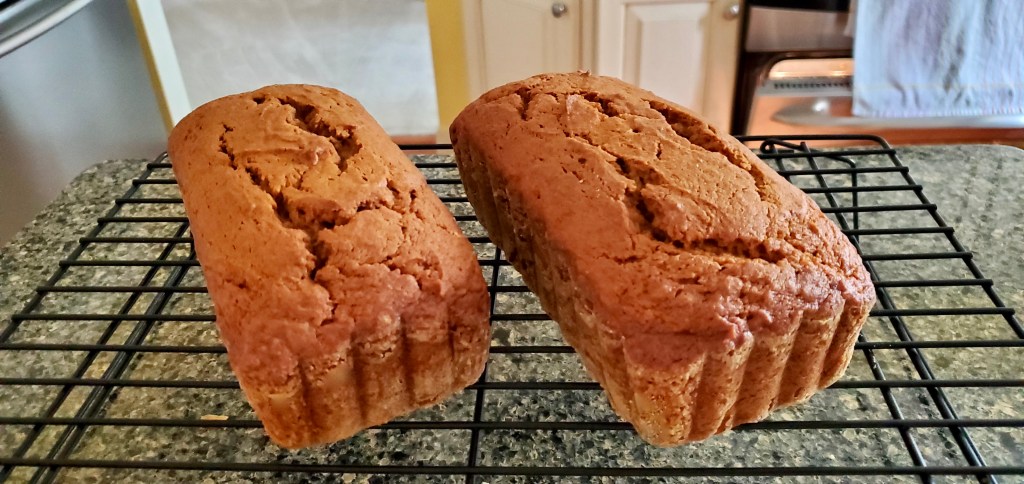
This recipe calls for an odd size baking sheet, which I did not have, so I simply just spread the batter out to the approximate size recommended and it worked out fine. Word of advice, do not over-bake this cake.
Chocolate Cream with Bailey
1 gelatin sheet (roughly 1 teaspoon gelatin powder)
3 deciliter heavy whipping cream (10.5 oz)
1 deciliter Bailey (3.5 oz)
300 gram milk chocolate, chopped (10.6 oz)
Swiss Roll Cake
5 eggs, room temperature
125 gram sugar (4.4 oz)
1 teaspoon vanilla sugar
100 gram all-purpose flour (3.5 oz)
30 gram unsweetened cocoa powder (1.1 oz)
1 teaspoon baking powder
a pinch of salt
Directions
Chocolate Bailey Cream filling: Place gelatin sheet in cold water for 10 minutes. Warm cream and Bailey up in a small cooking pot till just below simmering, remove from heat. Squeeze water out of gelatin sheet and place into the hot cream. Stir well until gelatin is completely melted. Pour the warm cream through a sieve and then over the chopped chocolate. Stir chocolate until smooth and pour through a sieve again to remove any clumps of unmelted chocolate. Pour chocolate into a bowl, cover with cling wrap and refrigerate for a minimum of 6 hours. After refrigeration the chocolate cream will still be a little thin.
Swiss Roll Cake: Line a 26×36 cm (10×15 inch) baking sheet with parchment paper. Preheat oven to 350 degree F (175 degree C). Beat eggs, sugar and vanilla sugar on high until pale and thick (5-10 minutes). Stir together flour, cocoa, baking powder and salt. Sift flour mixture into beaten eggs and gently fold it in only until incorporated. Pour batter onto baking sheet and gently spread out dough. Bake for 8-10 minutes. Do not over-bake, cake should spring back when touched in the center.
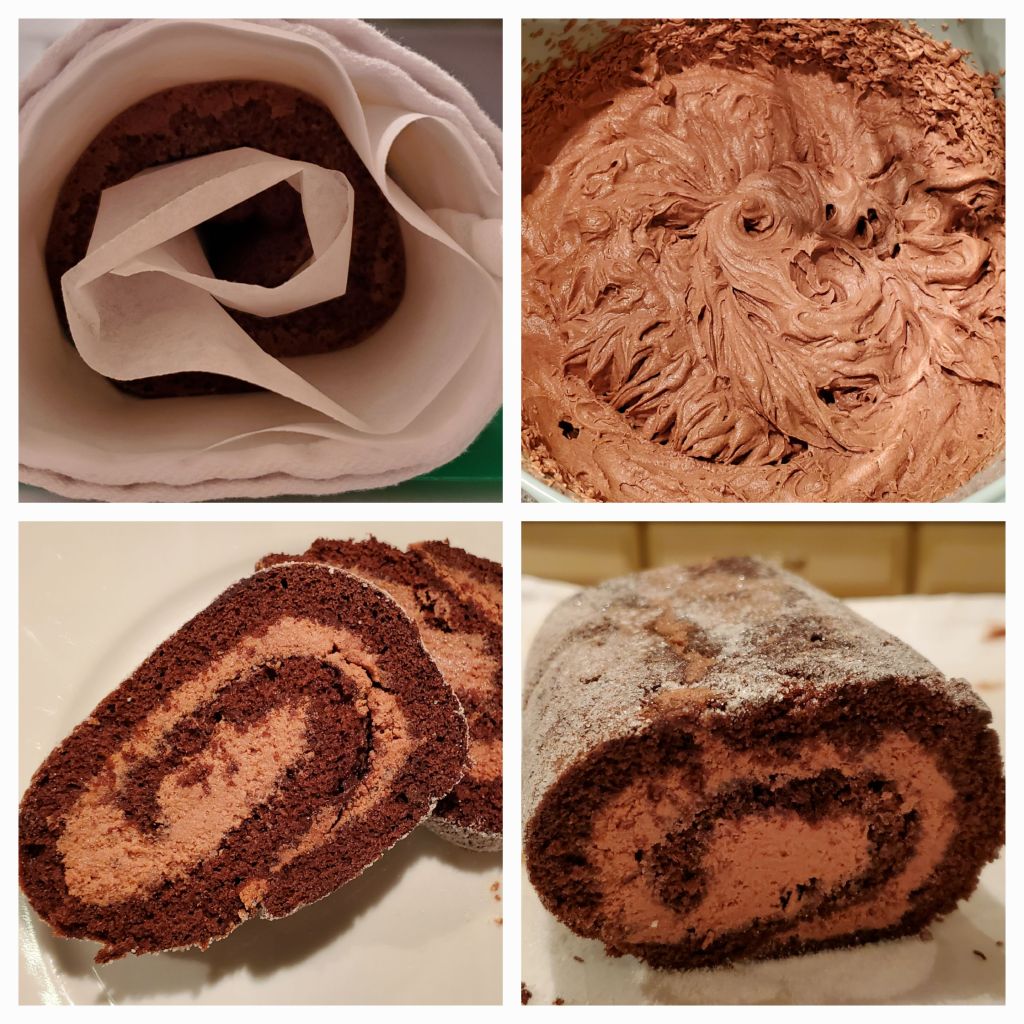
Once cake is out of the oven and still hot, sprinkle a thin layer of sugar over cake. Place a new piece of parchment over the cake/baking sheet and invert cake/baking sheet onto your counter top. Carefully peel off old parchment paper. While still hot, start at the short edge and use the new parchment paper to help you roll up the cake. Once starting to roll, keep a firm grip on the cake (as if you were making Sushi) to get a tight roll. Once the cake is rolled up, finish by rolling the parchment paper around the cake and then roll the tea towel around the parchment paper. Let it cool completely. For additional pictures to help guide with the rolling process check out my Raspberry Swiss Roll post here.
Swiss Roll Assembly: Whip Chocolate Bailey Cream filling on high for 5-8 minutes or until thick. Unroll Swiss Roll cake and spread cream evenly over cake. Gently re-roll the cake. Decorate as desired and refrigerate. Enjoy!
Source: Valdemarsro