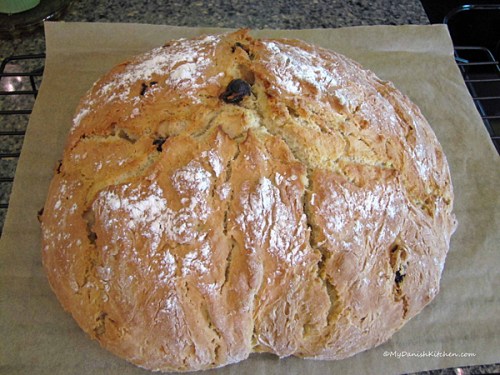
Feeds:
Posts
Comments

Posts Tagged ‘bread’

Rundstykker

Rundstykker is a Danish breakfast buns and literally means “round pieces”. They are immensely popular, and dare I say, sold in every single bakery in Denmark. When I was younger and lived at home, my Dad would always get up early on the weekends, jump on his bicycle and ride to the baker to pick up some fresh Rundstykker. We would eat them with jam, cheese, honey or Nutella and they were wonderful.

Rundstykker

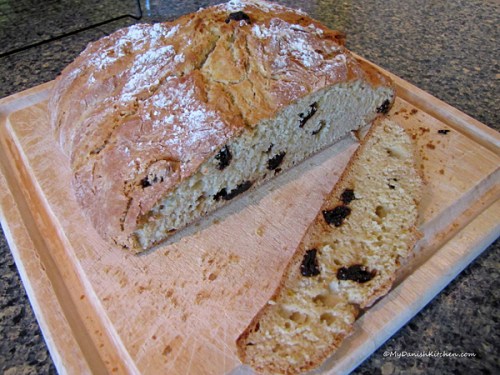
Living away from Denmark I only got to eat Rundstykker when I was home visiting. But why not make them myself? It turns out that they are fairly easy to make and the aroma of fresh baked bread on a weekend morning is simply just amazing. I will eat them warm right out of the oven or cooled off, either way, they are delicious and brings back memories of distant weekend mornings at home.

Rundstykker – 12 servings

Ingredients:

25 grams butter (3/4 ounces)

3 deciliter milk (11 ounces)

4 teaspoons active dry yeast (or 50 grams cake/fresh yeast)

400 grams flour (14 ounces)

1 teaspoon salt

poppy seeds

1 beaten egg for brushing

Directions:

Add butter to a small saucepan and melt over low heat, add milk and heat until between 100-110 degrees F (37 – 43 degrees C). Sprinkle the active dry yeast over the warm milk and let sit for 10 minutes.

Mix together flour and salt in a bowl. Pour milk/yeast mixture into the bowl of stand mixer fitted with the hook attachment. Starting on low, add the flour in increments. (If dough is still sticky after all the flour has been added, you can add a little extra flour until dough is no longer sticky). When all flour has been added, mix on medium speed for 10 minutes. (The mixing and kneading process can certainly be done by hand, make sure to knead the dough for 10 minutes as well, if you choose to do it by hand). Place dough in a bowl and cover with clean, dry tea towel. Place in a warm, draft free spot and allow to rise until double in size, 30-45 minutes.

Line two baking sheets with parchment paper and set aside. Pour dough out onto a lightly floured work surface. Divide dough into 3 equal portions. Then divide each of these portions into 4 equal parts for a grand total of 12 small pieces. Roll each piece of dough into a small dough ball, place 6 dough balls on each baking sheet. Cover each baking sheet with a clean, dry tea towel and allow to rise in a warm location for 30 minutes.

Preheat oven to 440 degrees F (230 degrees C). After the dough balls have finished rising, brush with beaten egg and sprinkle with poppy seeds. For additional decoration, using a sharp knife, cut a slit in the top of each dough ball. Bake for 10 – 12 minutes or until golden brown. Allow to cool completely or serve warm with your favorite topping. Enjoy!

This post has been submitted to YeastSpotting.

Source: adapted from Kvalimad.dk

Print Friendly and PDF

Read Full Post »

Øllebrød med Æggesnaps

Øllebrød, an almost forgotten old Danish dish? I have not had Øllebrød since I was a child and it’s a dish that I remember being served on a cold winter morning and a dish that I absolutely love. I think we may also have had it for dinner on rare occasions. It’s a dish that is great for using up the leftover end-pieces of Rye bread, but of course it doesn’t have to be leftover bread. It is high in fiber, low in fat and it has a slightly tart taste. It’s a solid meal which leaves you with a sensation of fullness and you often see it feed to babies. Ideally you want to use Rye bread without kernels but all I could find was Whole Rye bread, so in that case you simply just press the Rye Porridge (Øllebrød) through a sieve to remove the kernels. As for the topping used with this dish, it can range from milk, cream, whipped cream (flødeskum) to creamed egg topping (æggesnaps). My mother either served it with æggesnaps or milk.

Øllebrød and Æggesnaps

Now for the æggesnaps you are supposed to use pasteurized egg yolks, however, the stores around here only sell pasteurized egg whites and egg beaters. You CAN make æggesnaps with egg beaters BUT I feel weird about it because there are egg whites in egg beaters. I tried it out and the taste is different from a real egg yolk, more perfumed if that makes any sense. Why don’t they sell pasteurized egg yolks? If anyone out there has more information on pasteurized egg yolks, please let me know. Anyway, I decided to live dangerously for this one and I used a real egg yolk. I know, you’re not suppose to do that….but I did and it was fabulous. Do as I say, not as I do 🙂

Ingredients:

Øllebrød (Rye Porridge):

4 slices Rye bread, broken into pieces

cold water to cover

2 tbsp sugar

Æggesnaps (Creamed Egg):

1 egg yolk (pasteurized)

2 tbsp sugar

Directions:

To make Rye Porridge:

Break Rye bread into pieces, place in a bowl and add cold water just until covered. Cover with plastic wrap and let soak in refrigerator anywhere from 1 hour till overnight.

Pour rye bread and water into a cooking pot, simmer, stirring occasionally, until it starts to thicken. Remove from pot and place in a blender or food processor. Blend until smooth. Note: if you’re using Whole Rye bread you’ll need to strain it through a sieve to remove the kernels that don’t break down. Place back into pot and keep warm until ready to serve. If the porridge gets too thick, simply just add a small amount of water.

To make Creamed Egg topping:

Whip together egg yolk (pasteurized) and sugar until it’s thick and pale yellow (1-2 minutes). Serve Egg topping on top of warm Porridge. Enjoy.

Source: My mother Åse

Print Friendly and PDF

Read Full Post »

Irish Soda Bread

Irish Soda Bread

Irish Soda Bread

Sometimes my local grocery store have samples of Irish Soda Bread and I may be making a couple of passes by the baked goods section for a taste. So I have been eyeballing this Irish Soda Bread recipe for quite some time and I finally decided “this is it, today is the day” to make THE BREAD. The bread is delicious and so easy to make. It does feel a little odd that the dough is so wet but it cooked up perfectly. To me this bread is a little more like a cake. It is slightly sweet with a hint of orange flavor. I couldn’t find currants so I used dried cherries instead and that worked out great. Try it, you’ll like it.

Irish Soda Bread

Irish Soda Bread

Irish Soda Bread

Ingredients:

4 cups all-purpose flour, plus extra for currants

4 tbsp sugar

1 tsp baking powder

1 1/2 tsp kosher salt

4 tbsp (1/2 stick) cold unsalted butter, cut into 1/2-inch dice

1 3/4 cups cold buttermilk, shaken

1 extra-large egg, lightly beaten

1 tsp grated orange zest

1 cup dried currants or dried cherries

Directions:

Preheat oven to 375 degrees F. Line a sheet pan with parchment paper.

Combine the flour, sugar, baking soda, and salt in the bowl of an electrical mixer fitted with the paddle attachment. Add the butter and mix on low-speed until the butter is mixed into the flour.

With a fork, lightly beat the buttermilk, egg, and orange zest together in a measuring cup. With the mixer on low-speed, slowly add the buttermilk mixture to the flour. Combine the currants (or cherries) with 1 tbsp flour and mix into the dough. The dough will be very wet.

Dump the dough onto a well-floured surface and knead it a few times into a loaf. Place the loaf on the prepared sheet pan and lightly cut an X into the top of the bread with a serrated knife. Bake 45 to 55 minutes, or until a toothpick comes out clean. When you tap on the loaf, it will have a hollow sound.

Cool on a baking rack. Serve warm or at room temperature.

Irish Soda Bread

Irish Soda Bread

Source: Barefoot Contessa at Home

Print

Read Full Post »

« Newer Posts