Hindbærsnitter
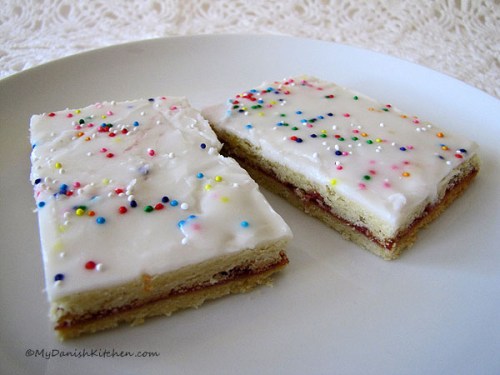
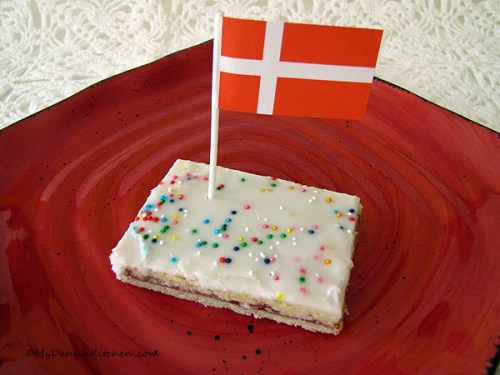
Hindbærsnitter is a very popular Danish pastry that can be found, dare I say, in any Danish bakery. To this day, it remains one of my favorite Danish pastries. Ok, so I realize that I say that about every Danish dessert that I make, but Danish pastries are simply just to die for. Hindbærsnitter consist of two pieces of pastry that is sandwiched together with a generous amount of seedless raspberry preserves and then topped off with glaze and sprinkles. It’s sweet and simply delicious.
Danish Hindbærsnit
Ingredients:
375 gram flour (3 1/3 cup flour)
1/2 teaspoon baking powder
125 gram confectioners sugar (1 1/4 cup)
40 gram egg (1 large egg)
250 gram margarine (2 sticks plus 2 tablespoon)
1 – 1 1/2 cup seedless raspberry preserves
For glaze:
2 cups confectioners sugar
2-3 tablespoons cold water
For decoration:
Directions:
Line two large baking sheets with parchment paper and preheat oven to 430 degrees F ( 220 C).
Cut margarine into small cubes. In a small bowl combine flour, baking powder and confectioners sugar. Place dry ingredients in a food processor. Add margarine and egg and pulse until dough starts to come together and let go from walls. Remove from food processor and press together to form a ball of dough. Do not overwork. Wrap dough in cling wrap and place in refrigerator for 1 hour to chill. You can also leave dough in refrigerator until the following day.
Remove dough from refrigerator and divide into half. Quickly with your hands, form dough ball into a rectangular shape. Place on floured surface and roll out to a 9 x 14 inch rectangle. Roll dough back up onto your rolling-pin and lift onto lined baking sheet. Repeat with second half of dough. Bake in preheated oven for 10 minutes until golden along edges.
Once the dough comes out of the oven things will move a little fast so make sure glaze, raspberry preserves and sprinkles are ready on your counter. While dough is baking, make the glaze by mixing confectioners sugar and water together. Stir up the seedless raspberry preserves until smooth and pliable and have sprinkles ready.
As soon as the cakes come out of the oven, spread raspberry preserves over the first cake. This will be the bottom piece. Gently slide a flexible plastic cutting board under the second cake and lift it up. Then slide it off the cutting board onto the first raspberry covered cake. If the cake crack a little don’t worry, the glaze will cover it up. While the cake is still warm, start spreading the glaze out over the cake. Add the sprinkles quickly before the glaze sets. You may have to do this as you go along. Let glaze set a little but while the cake is still warm, cut into rectangular pieces. Enjoy!
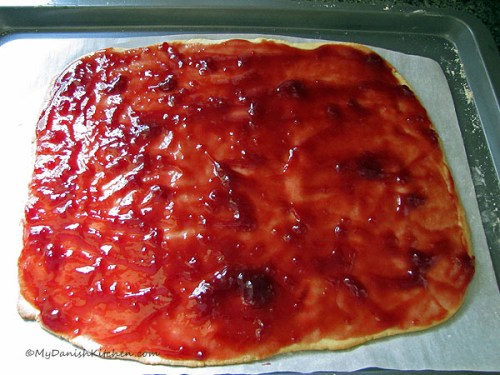
Baked cake topped with raspberry jam, top with second baked cake
Source: adapted from Arla


