Pandekage (Crepe) With Strawberry Yogurt
Have you ever walked into an old-time ice cream parlor where they make the waffle cones fresh? It is one of the most pleasing aromas I can think of. When I make these pancakes the scent of sweet vanilla fills the entire house and it smells just like the ice cream parlor I remember from back home.
Crepes in Denmark is referred to as pancakes and the typical Danish way to eat these, is with a light sprinkle of sugar, then rolled up tightly and dipped in either strawberry or raspberry jam. You get a slight crunch from the sugar and the sweet vanilla flavor is simply wonderful. For this post, I also made a yogurt filling and served it with fresh sliced strawberries which everyone really liked as well.
Pandekager or Crepes can be a little tricky to make and usually the first one falls apart, but don’t let that stop you, after making a couple of crepes you’ll be a turning them out faster than you thought possible. They are truly wonderful and I hope you enjoy them, should you decide to try them.

Crepe with Yogurt and sliced Strawberries
Pandekager (Crepes)
Crepes Ingredients:
3 eggs
5 tablespoons sugar
1 teaspoon vanilla sugar
10 tablespoons flour
1 1/2 cup buttermilk (kærnemælk)
1 cup milk
Yogurt filling Ingredients:
1 cup vanilla yogurt
a pinch ground cinnamon
6 ounces seedless strawberry jam
1/2 quart fresh strawberries, sliced
Eating Pandekager/Crepes the Danish way:
Sprinkle Pandekage/Crepe with a light coating of sugar, roll up and dip in strawberry or raspberry jam. Delicious.
Directions:
Combine eggs, sugar and vanilla sugar, beat on high-speed until lighter in color. Add flour, buttermilk and milk, beat on medium speed until combined and free of lumps.
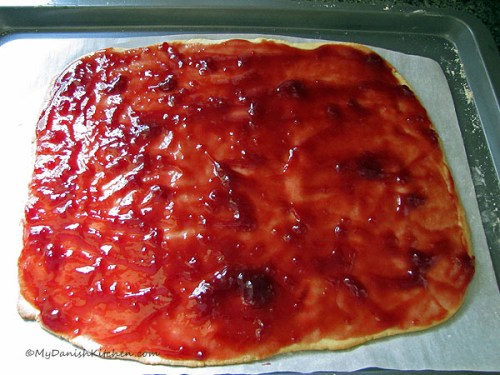
Heat a small non-stick pan. Add butter to coat and pour batter into the center of pan and swirl to spread evenly. Cook until golden and flip. Continue to cook the other side until golden and remove from pan onto a large plate to stack.
For filling: mix together yogurt, cinnamon and strawberry jam. Place yogurt mixture in center of crepe and top with sliced strawberries. Roll crepe up and enjoy.
Note: if you have left-over crepes, you can place parchment paper in between each crepe and stack them. Store in a sealable bag in refrigerator for several days or in freezer for up to two months.

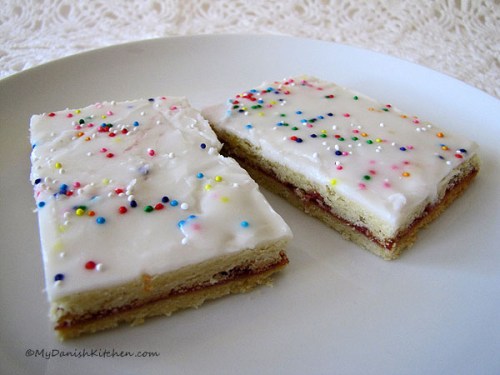
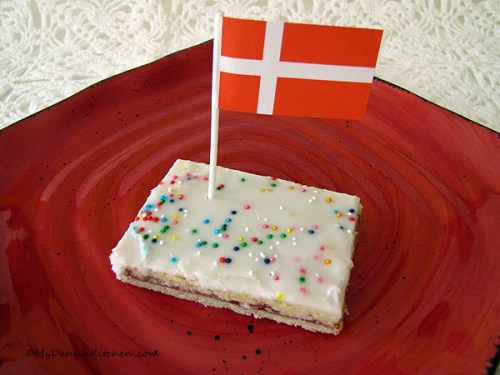
Pandekager rolled with sugar and dipped in jam
Source: My Danish Kitchen