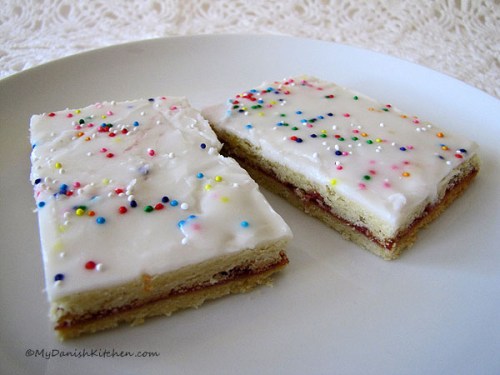
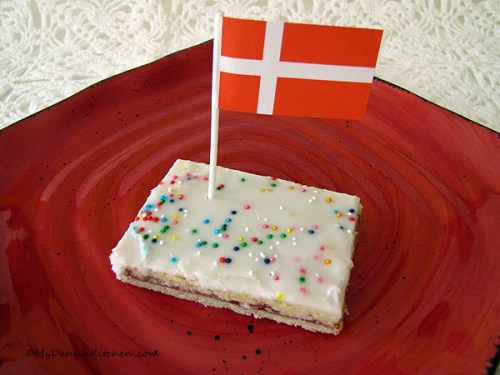
Citronmåne – Lemon Moon Cake
First of all, I want to say Thank You to everyone for your well wishes to my husband. These last couple of weeks have indeed been trying times but I am glad to say that he is slowly getting better. It is heartwarming to see the closeness and kindness there is within the Food Blogging community and it was something that I did not expect to find when I first started my little food blog. And so, now that I am going to start doing some blogging again, it may not be quite as frequently as in the past, I am very excited to show you this Danish Citronmåne which I translated into Lemon Moon Cake. A while back I got several inquiries about this particular cake but it was not a cake that I had any particular memories attached to. But I got curious and started researching different recipes. Then I came across this one and it sounded very delicious, and when I made it, it did not disappoint. It is moist, lemony and very zesty. I used Danish Marzipan with 60 % Almonds and Danish Butter, but I’m sure any old butter will do just fine. I hope you enjoy it as much as we did.

Marzipan and Danish Butter

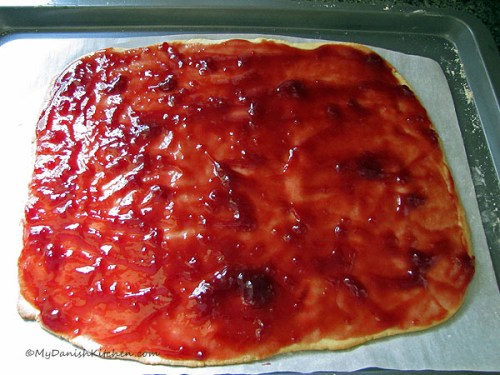
Dough A

Dough A and Dough B combined
Ingredients:
Dough A:
125 gram marzipan (4.4 ounces)
85 g. sugar (3 oz.)
50 g. butter (1.8 oz.) (room temperature)
75 g. whole egg (2.6 oz.) (room temperature)
Dough B:
250 gram butter (8.8 oz.) (room temperature)
1 whole vanilla bean
125 g. confectioners sugar (4.4 oz.)
125 g. sugar (4.4 oz.)
150 g. whole egg (5.3 oz.) (room temperature)
100 g. egg yolks (3.5 oz.) (room temperature)
190 g. flour (6.7 oz.)
65 g. corn starch (2.3 oz.)
1 organic lemon ( zest and juice)
Lemon glaze:
150 g. confectioners sugar (5.3 oz.)
1 organic lemon (zest and 1/2 lemon juice)
very small amount of cold water, if needed
Directions:
Preheat oven to 375 degrees Fahrenheit (190 degrees Celsius).
Dough A: Knead marzipan and sugar together using hands. Knead butter into marzipan in small increments. Add egg and knead into marzipan mixture, set aside.
Dough B: Cut open vanilla bean and scrape out seeds. Place butter, vanilla seeds, confectioners sugar and sugar into a bowl and mix together until creamy. Add eggs one at a time while mixing just until combined. Sift flour, corn starch, add lemon zest and lemon juice into wet ingredients and gently incorporate using a spatula. Add Dough A to Dough B and stir just until combined.
Pour dough into a greased spring-form and bake for 35 to 40 minutes. Cake is done when it springs back when lightly touched in the center. Let cool completely.
Lemon glaze: Zest from one lemon is spread out on a small plate and allowed to air dry until cake is ready to get glazed. Mix confectioners sugar, juice from 1/2 lemon and a few drop of cold water if needed. Gently warm glaze in a small pan and quickly spread out over cake. Immediately sprinkle with dried lemon zest. Enjoy.

Citronmåne in springform pan

Citronmåne
Source: Det Søde Liv